Water Damage. Mold. Fire.
We Handle It All.
Mold testing & remediation with a 5-year warranty. Emergency water damage restoration. Basement waterproofing. Fire cleanup. Sewage. Crawlspaces. One call — we handle everything from inspection to rebuild.
Family owned in Cincinnati since 2013. BBB A+ rated. IICRC certified. We work directly with your insurance and offer financing through Wisetack.
Or text us at (513) 763-2121 during office hours (Mon–Fri, 8 AM – 6 PM).
After hours: call and select emergency dispatch — texts are not monitored overnight.
How It Works
Here's What Happens When You Call
You don't need to figure anything out. You just need to call. We take it from there.

You Call — We Answer
Office hours are Mon–Fri, 8 AM – 6 PM. If it's 2 AM on a Sunday, select emergency dispatch when you call — a real person picks up, asks what's happening, and dispatches a crew immediately. No voicemail. No waiting until Monday.
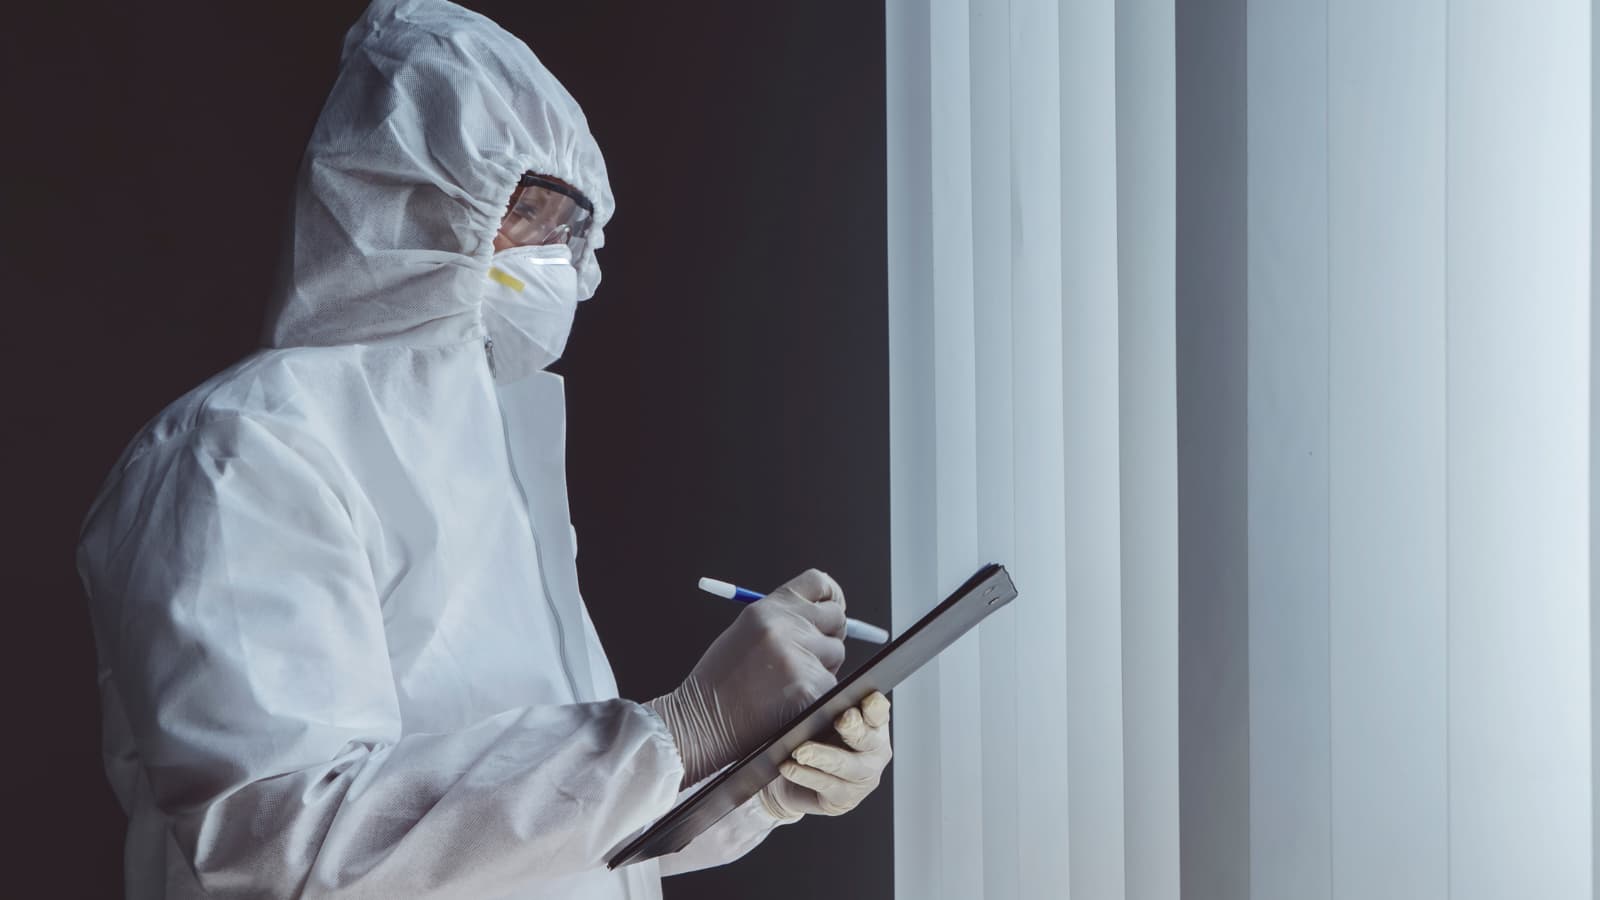
We Show Up & Assess
Our certified technician arrives, walks through the damage with you, explains exactly what's happening and why, takes moisture readings, photos, and builds your restoration plan — before we touch anything.
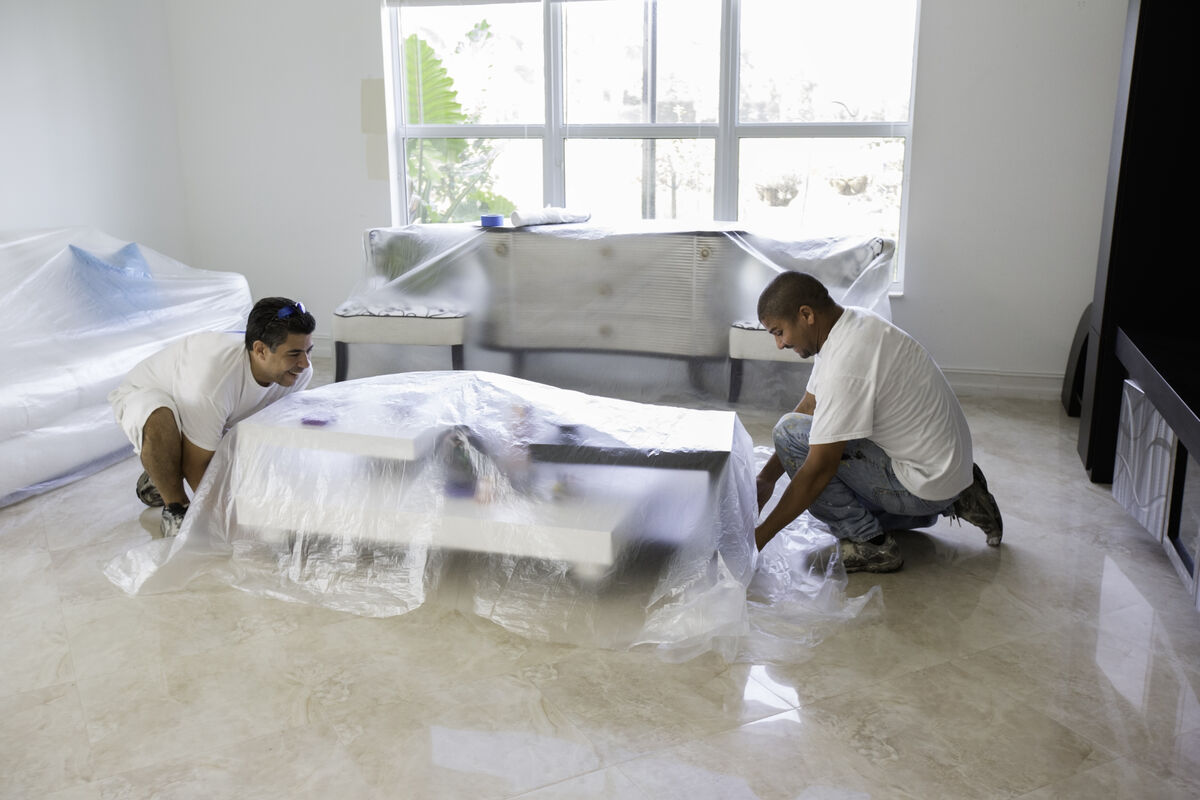
We Do the Work
Industrial-grade extraction, commercial dehumidifiers, antimicrobial treatment — whatever your property needs. We monitor progress daily with scientific instruments and keep you updated every step.
You Get Your Home Back
Repairs, painting, flooring, trim — we handle it all. One call and we manage the entire process so you can focus on your family. You get your home back the way it was, often better.
That's it. One call. We handle everything else.
(513) 763-2121Our Services
Our Services
Residential & Commercial restoration, remediation, and waterproofing throughout Greater Cincinnati.
Why Speed Matters
Every Hour You Wait, Damage Gets Worse
Water damage isn't static — it escalates. Here's what happens to your property the longer water sits.
Water wicks into drywall, carpet padding, and wood framing. Furniture begins absorbing moisture. This is the best time to call — damage is still minimal and containable.
Drywall swells and begins to break down. Wood floors start warping. Metal surfaces begin corroding. Dyes from furniture and carpet bleed onto flooring. A musty odor develops.
Mold can begin colonizing in as little as 24 hours in warm, humid conditions. Drywall may need to be cut and removed. Hardwood floor cupping becomes permanent. Costs increase significantly.
Mold spreads rapidly throughout wall cavities and HVAC systems. Structural wood begins to swell and warp. Paint and wallpaper peel. Biohazard contamination risk increases. Restoration costs can double or triple.
Extensive mold remediation needed. Structural repairs likely required. Some materials become unsalvageable. Health risks from prolonged mold exposure. What could have been a $3,000 job becomes a $15,000+ project.
The fastest way to minimize damage? Call now.
(513) 763-2121Our Story
Family Owned. Locally Operated. Not a Franchise.
Dry Effect started in 2013 with one truck, a handful of equipment, and a commitment to doing restoration work the right way. No cutting corners. No upselling. Just honest, thorough work for Cincinnati homeowners dealing with some of the worst days of their lives.
We're not SERVPRO. We're not ServiceMaster. We don't have a corporate office telling us to sell you services you don't need. When you call Dry Effect, you talk to the people who own the company and do the work. We live in Cincinnati. This is our community. Our reputation is everything to us.
Over the years, we've earned a BBB A+ rating, IICRC certifications for every technician, and a 4.9-star Google rating — not by running ads, but by showing up when people need us and doing the job right. We believe the best way to grow a business is to make every single customer glad they called us. Learn more about how we give back to Cincinnati.
If you have water in your basement at 2am, a mold problem you're not sure about, or you just want someone honest to look at a moisture issue — call us. We'll give you a straight answer, even if that answer is "you don't need us."
Dry Effect featured on Cincy Lifestyle
Since 2013
Serving Greater Cincinnati for over a decade. We know the local building codes, the insurance adjusters, and the specific challenges Cincinnati homes face.
One Team
We handle your project from start to finish — one point of contact, one standard of quality. You don't have to coordinate anything.
Local
Based at 4335 River Rd in Cincinnati. We serve a 60-mile radius including Northern Kentucky. When you call, a local person answers — not a call center.
24/7
Water damage doesn't wait for business hours. Office hours are Mon–Fri 8 AM–6 PM, but our emergency line is staffed 24/7 — call and select emergency dispatch and a real person answers, even at 2 AM on Christmas.
Why Dry Effect
Why Cincinnati Trusts Us
We're not the biggest. We're not the cheapest. But when your home is on the line, you want people who know what they're doing and actually care about doing it right.
Accredited with the Better Business Bureau with an A+ rating. We stand behind our work.
Every technician holds current certifications from the Institute of Inspection, Cleaning and Restoration Certification.
Fully licensed in Ohio and Kentucky. General liability and workers' comp coverage on every job.
Hundreds of verified 5-star reviews from real Cincinnati homeowners. Read what they say about working with us.
Family Owned — Not a Franchise
When you call Dry Effect, you talk to the people who own the company and do the work. No call centers. No corporate runaround. We live here, we work here, and our reputation is everything.
24/7 Emergency Response
Water damage doesn't wait for business hours. Our phones are answered 24/7 — nights, weekends, holidays. Outside office hours (Mon–Fri 8 AM–6 PM), select emergency dispatch when you call and our on-call team takes it from there. Texts and form submissions are returned during office hours only — for true emergencies, always call.
We Handle It Start to Finish
From the first phone call to the final walkthrough, you have one point of contact managing everything. We coordinate the entire restoration process so you don't have to chase down multiple companies.
We Handle the Insurance
Filing insurance claims after water damage is stressful enough. We work directly with all major carriers — State Farm, Allstate, USAA, Erie, Cincinnati Insurance — and handle the documentation, photos, moisture readings, and billing so you don't have to.
Free Inspections & Estimates
We'll come to your property, assess the damage, and give you a straight answer — free of charge. No pressure, no sales tactics. If we're not the right fit, we'll tell you.
Education First
We explain what's happening, why it's happening, and exactly what we're going to do about it. You'll understand every step of the process before we start. No jargon, no surprises.
Explore what we do:
Free Tool
Will Insurance Cover My Damage?
Answer 2 quick questions and we'll tell you if your situation is typically covered by homeowners insurance in Ohio.
Question 1 of 2
What caused the damage?
Insurance
We Handle Your Insurance Claim
Dealing with insurance after water damage is stressful enough. We work directly with your carrier — documenting damage, submitting claims, and handling all the back-and-forth so you don't have to.
- Direct billing to your insurance company
- Xactimate-certified damage estimates
- Photo documentation & moisture readings included
- We handle all paperwork and adjuster meetings
- Flexible financing through Wisetack for non-insured work
Not sure if your policy covers it? Call us — we'll help you figure it out. No charge. For services not covered by insurance, we offer flexible financing through Wisetack with affordable monthly payments.
(513) 763-2121We work with all insurance companies, including:
We work with ALL insurance carriers — if yours isn't listed, we still handle it.
Reviews
Don't Take Our Word For It
Read what Cincinnati homeowners say about working with Dry Effect.
“Our basement flooded at 2am on a Sunday. Dry Effect answered immediately and had a crew at our house within 45 minutes. They didn't just pump out the water — they explained exactly what was happening behind our walls, where the moisture was traveling, and why certain materials needed to come out. They saved our floors and our sanity.”
Sarah M.
Anderson Township — Water Damage Restoration
These are representative of reviews from our Google Business Profile.
Service Area
Serving Greater Cincinnati
From Northern Kentucky to Butler County — we're local, and we respond fast. Wherever you are in the tri-state, we'll be there.
East Side
- Anderson Township
- Indian Hill
- Milford
- Batavia
- Loveland
- Madeira
North
- Mason
- West Chester
- Liberty Township
- Monroe
- Fairfield
- Hamilton
Northeast
- Blue Ash
- Montgomery
- Sharonville
- Evendale
- Reading
- Deer Park
Central & Urban
- Downtown
- Over-the-Rhine
- Hyde Park
- Mt. Adams
- Oakley
- Norwood
West Side
- Delhi
- Cheviot
- Westwood
- Green Township
- Harrison
- Bridgetown
Northern Kentucky
- Florence
- Covington
- Newport
- Ft. Thomas
- Independence
- Erlanger
Don't see your area? Call us — we likely cover it. We serve a 60-mile radius from Cincinnati.